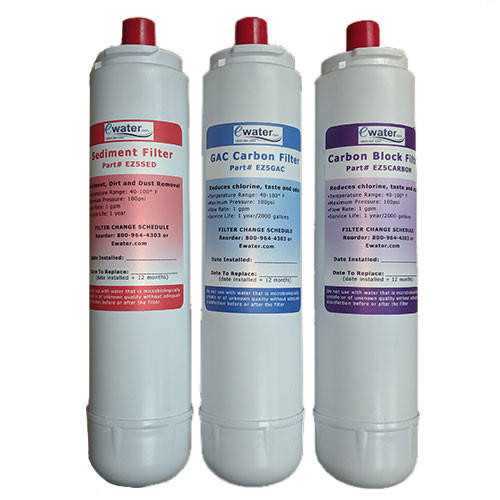
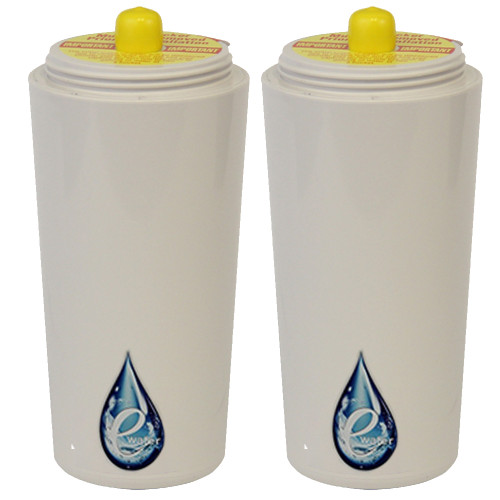
NEW, Upgraded Filters! The filters you receive will most likely look different than the filters you are replacing. See the video below for more details.
NOTE: The filters shown above may differ in label and shape. However, they are the correct filters for your RSQC4 Unit. We are constantly upgrading the filters for your benefit and sometimes this results in a different looking filter.
Replacement filter Pack for the Under Counter Reverse Osmosis Unit (RSQC4UC), Does not include the 3-5yr. replacement membrane. 12 month service life.
Contains 3 Filters:
1 - Sediment Pre-Filter
1 - Carbon Pre-Filter
1 - Post Filter
Under Counter Reverse Osmosis System Yearly Replacement Pack
RO Filter Change & Maintenance Guide: (Download & Print Instructions Here)
1. Follow the (Orange) supply line back to the cold water line and turn the water off.
2. Empty the large white tank. This is done by lifting the lever on the faucet that dispenses the RO water.
***NOTE***
You may want to save this water in several containers
3. After water stops flowing from the faucet check the air pressure in the tank. Lift the tank to feel if the tank is heavy (greater than three pounds) and contains water. If there is still water trapped inside then you have lost air pressure. To reset air pressure:
A. Lay the tank on its side and locate the air valve on the bottom of the storage tank.
B. First force all the residual water out of the storage tank by attaching a bicycle pump to the air valve and begin to pump air into the tank.
C. Continue pumping air until no more water comes out of the RO faucet.
D. Once all the water is removed, bring the storage tanks air pressure up to between 7-10 lbs. of pressure.
*for best results use a digital tire gauge*
4. To sanitize the tank after checking the air pressure.
A. Remove the (yellow) tubing by holding the collet that is around the tubing and at the same time pulling the tubing out.
B. Add several drops of bleach to the (yellow) line and reconnect to the valve.
5. Remove the filters and replace them with the new filters. Check that the sticker on the bracket matches the label on the filter, or that the replacement filter label exactly matches the exhausted filter.
6. After the new filters are installed, follow the (orange) line and turn the supply water back on. Flush the filters and the storage tank by:
A. Leave the faucet handle in the up position for at least thirty minutes in order to remove all the air pockets in the new filters and equalize pressure.
B. After the thirty minute run off period, place the handle in the off position and allow the storage tank to fill for at least two hours.
C. At the end of the two hour tank fill period, place the handle in the up/on position and allow the entire tank to drain.
D. Repeat the tank fill and drain a second time in order to complete the filter flush process.
7. After draining two full tanks from the system, allow the tank to fill for a third and final time. The tank will be clean and ready for use.
***NOTE***
Do not throw the old filters away for a day or two. Once it has been determined that all is well, discard the used filters into the trash.
***NOTE***
After membrane is three years old, it is recommended that each year a 4oz. sample of the tap water and a 4oz. sample of the RO water be sent in for testing to determine if the membrane is filtering properly, or if it needs to be replaced.


